Keeping a shower clean can seem like a never-ending task, but with the right approach, you can keep it sparkling without spending hours scrubbing.
Lynsey Crombie, famously known as the ‘Queen of Clean’ and a regular on ITV’s This Morning has revealed her go-to method for maintaining a pristine shower with minimal scrubbing.
Sharing her insider tips on her blog, Lynsey outlined a step-by-step guide that targets grime, soap scum, and stubborn water marks, giving her fans a way to achieve a sparkling shower without spending hours scrubbing.
Step 1: Clear Out and Prep
To kick things off, Lynsey advises removing all products, razors, and accessories from the shower.
These should be wiped down with a warm, soapy cloth before setting them aside.
Clearing the area, she notes, makes it easier to tackle every nook and cranny without obstructions.
Step 2: Say Goodbye to Mould and Mildew
With colder temperatures setting in, mould and mildew can creep in.
To combat this, Lynsey recommends keeping home temperatures between 18-21°C and ensuring proper ventilation to avoid moisture build-up.
For any existing mould, she suggests a simple but effective solution. Spray the affected area with white vinegar, let it sit for 30 minutes, then rinse away.
The acidity of the vinegar, she explains, naturally kills off mould spores and works just as effectively on grout.
Step 3: Remove Stubborn Build-up Around Fixtures
When dealing with mineral deposits around taps, Lynsey advises using a cleaning paste.
“Dab the paste onto the stubborn build-up and leave it for 10 minutes,” she writes.
For a quick alternative, kitchen paper sprayed with white vinegar can be wrapped around the tap for a similar effect.
After 10 minutes, simply rinse and buff dry with a cloth for a gleaming finish.
Step 4: Spray, Scrub, and Rinse
Once all surfaces are prepped, it’s time to tackle the shower itself.
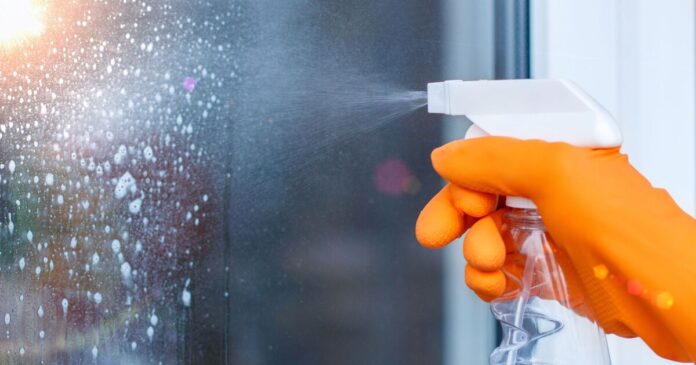
Lynsey recommended spraying the shower glass, walls, and floor liberally with a preferred bathroom cleaner.
After scrubbing gently, rinse the surfaces, then use a squeegee to remove any remaining water.
A final buff with a microfibre cloth will prevent streaks and discourage further mould growth.
Step 5: Deep Clean the Rubber Seal
Overlooked areas like the rubber seal on the shower door can also attract grime.
Lynsey advised removing the seal and soaking it in warm, soapy water in the sink.
A recycled toothbrush or small cleaning brush can be used to scrub away any buildup. Once rinsed and dried, she suggested spritzing with vinegar before reattaching.
Step 6: Clear the Drain
To avoid clogs, Lynsey suggests either using a drain snake or a specialised drain cleaner.
For a more natural option, sprinkle a cup of bicarbonate of soda down the drain, let it sit for 20 minutes, then rinse it away.
Step 7: Refresh the Shower Head
A critical part of any deep clean, the shower head often accumulates mineral deposits.
For this, Lynsey suggests immersing the head in a bag or bucket of white vinegar. For fixed heads, she advised tying a sandwich bag filled with vinegar around the fixture, and securing it with a rubber band.
“Let it sit for an hour,” she notes, “but if you have a brass or gold finish, check after five minutes to avoid damage.”
For waterfall shower heads, Lynsey’s top tip is to wrap a vinegar-soaked tea towel around it and use a toothbrush for a final scrub.
Flushing the shower head with water will remove any remaining deposits.


